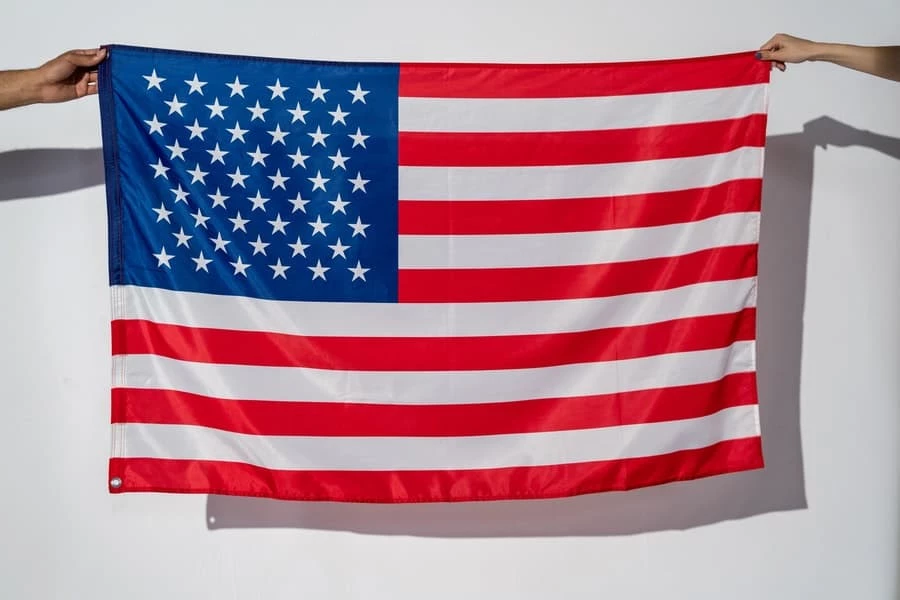
The act of hanging a flag on your wall can be a powerful and symbolic statement. Whether you’re displaying a national flag, a sports team banner, or a flag representing a personal cause or affiliation, how you hang it speaks volumes about your pride and respect. In this comprehensive guide, we’ll explore the steps to properly hang a flag on a wall, ensuring it’s secure and decorated with decorum.
Choose the Proper Place to Hang a Flag on a Wall:
When hanging a flag on your wall, choosing a location that combines visibility, good lighting, and harmony with your room’s theme while adhering to flag etiquette is essential. Opt for a spot where your Flag can be easily seen, ideally at eye level, allowing it to stand out without straining necks. Natural light or well-placed artificial lighting can enhance its colors. Ensure the Flag complements your room’s decor and matches its theme. Always treat the Flag with respect, avoiding damage and following proper etiquette. Most importantly, place it where it holds personal meaning and significance, connecting with your heritage, values, or passions, creating a meaningful and visually appealing display.
Methods to hang a flag on a wall
- Spring Command Clips:
- Hammer and nails:
- Painters Tape:
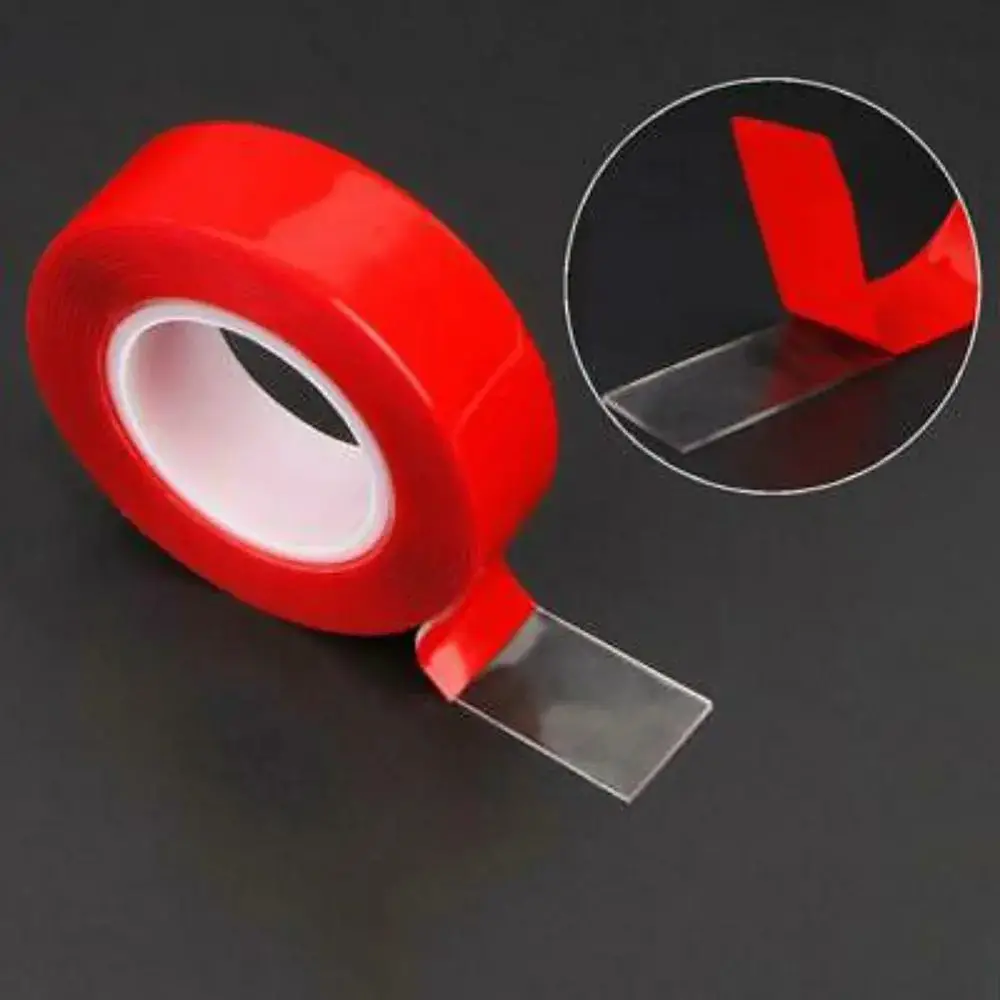
- Poster Strips and Double-sided Tape:
- Adhesive Putty:
- Thumbtacks and Push Pins:
- Pennant Display Case:
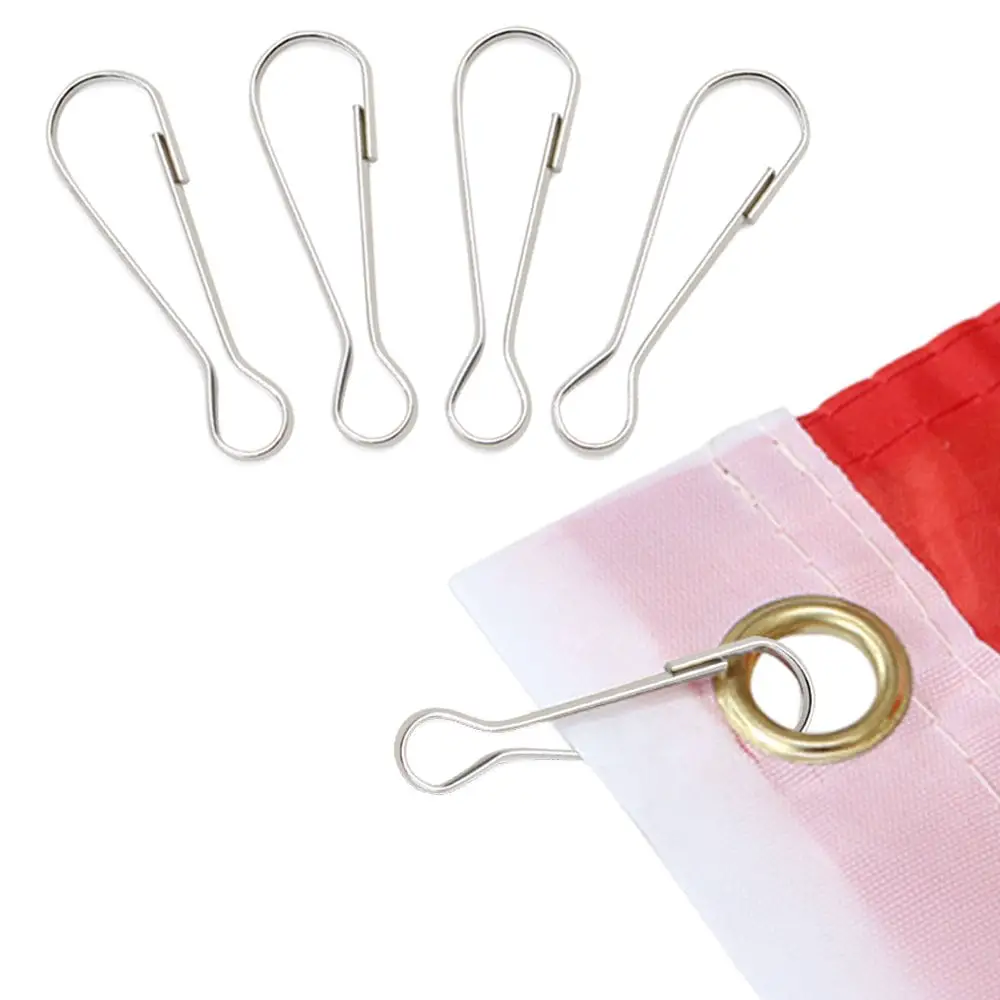
Spring Command Clips:
Hanging a flag on a wall using Spring Command Clips is a simple process that doesn’t require nails or drilling. Here’s how to do it:
Clean the Wall:
Clean the wall surface where you intend to hang the Flag. Use a clean, dry cloth to remove any dust or dirt.
Prepare the Flag:
Attach the Spring Command Clips evenly along the top edge of the Flag. Make sure they are securely attached and spaced out evenly.
Remove the Adhesive Backing:
Carefully peel off the adhesive backing from the Spring Command Clips, revealing the sticky side.
Position the Flag:
Hold the Flag at the desired location on the wall. Ensure it’s level and aligned as you want it to appear once hung.
Press and Secure:
Press the Flag onto the wall, with the Spring Command Clips making contact with the wall surface. Apply even pressure to make sure it adheres properly.
Hold for Adhesion:
Hold the Flag against the wall for a few seconds to allow the adhesive to bond securely.
Check Alignment:
Double-check that the Flag is level and aligned correctly. Make any adjustments as needed.
Removal:
When removing the Flag, pull the tab on each Spring Command Clip slowly and gently. This should release the Flag from the wall without causing damage.
Using Spring Command Clips to hang a flag on a wall is convenient and damage-free, allowing you to display your Flag quickly and flexibly. Just remember to follow the manufacturer’s instructions on the packaging for the best results.
Hammer and nails:
To hang a flag on a wall using a hammer and nails, follow these steps:
Materials You’ll Need:
- Flag of your choice
- Hammer
- Nails
- Measuring tape
- Pencil
- Level (optional)
Step-by-Step Instructions:
Select a Suitable Location:
Start by choosing where to hang a Flag on a wall. Ensure it’s a visible and well-lit spot on the wall. Consider the size of the Flag and the overall aesthetics of the room.
Prepare the Wall:
Before hammering any nails, inspect the wall. Ensure no electrical wires, pipes, or other obstacles are behind the wall where you plan to hang the Flag. It’s crucial to avoid damaging anything inside the wall.
Mark the Nail Positions:
Use a measuring tape and a pencil to mark the spots on the wall where you’ll place the nails. Measure the distance between the grommets or the top edge of the Flag, ensuring that they are evenly spaced.
Leveling (Optional):
If you desire a perfectly level flag, use a level to ensure the marks you made are straight and even.
Hammer the Nails:
Carefully hammer nails into the marked spots on the wall. Make sure they are securely fastened and level if you use a group. Leave a small portion of the nail exposed to hang the Flag.
Hang the Flag:
Slide the grommets or the top edge of the Flag over the nails. Ensure that the Flag hangs straight and level.

Adjust and Secure:
- Make necessary adjustments to ensure the Flag hangs straight and looks its best.
- If needed, use a level to check for accuracy.
- Once satisfied with the Flag’s placement, ensure it’s securely fastened to the wall.
Following these steps, you can securely hang a Flag on a wall using a hammer and nails while displaying it with care and respect.
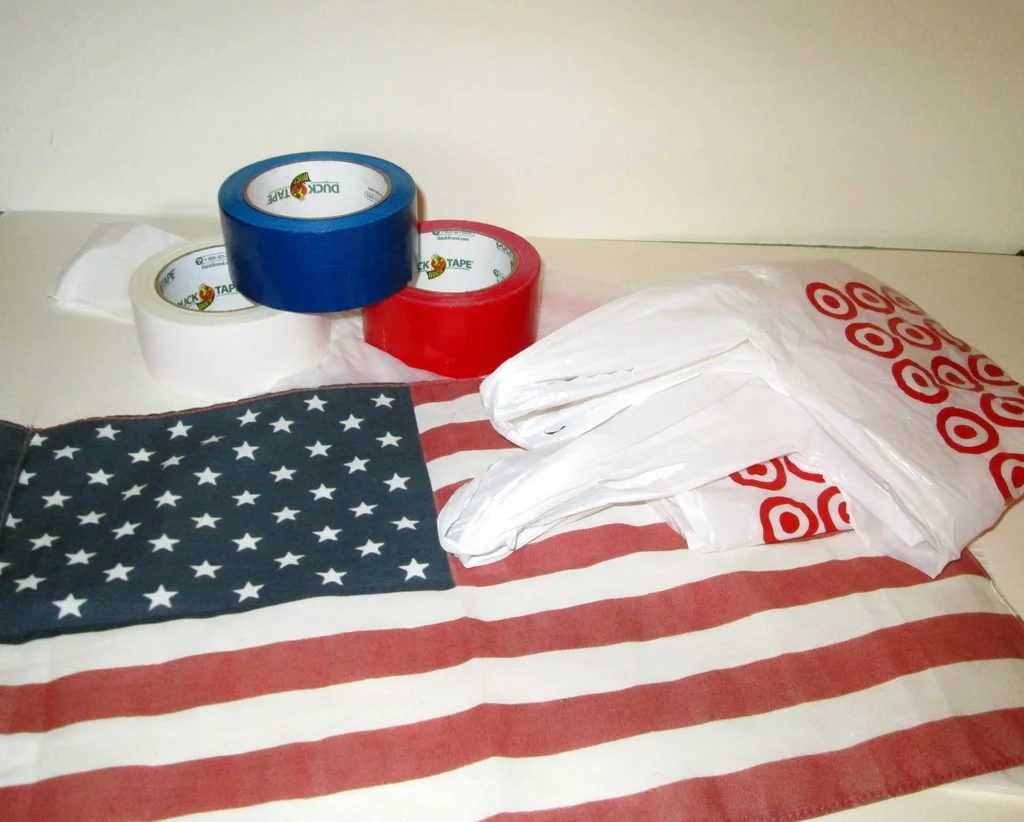
Painters Tape:
To hang a flag on a wall using painter’s tape, follow these steps:
Materials You’ll Need:
- Flag of your choice
- Painter’s tape (low-adhesive)
- Measuring tape
- Pencil
- Level (optional)
Step-by-Step Instructions:
Select a Suitable Location:
Choose where you want to hang the Flag. Ensure it’s a visible and well-lit spot on the wall. Consider the size of the Flag and the overall aesthetics of the room.
Prepare the Wall:
Before using painter’s tape, ensure the wall is clean and free of dust or debris. A clean surface will help the tape adhere properly.
Mark the Flag Placement:
Use a measuring tape and a pencil to mark the desired position on the wall where you want to hang the Flag. Measure the distance between the grommets or the top edge of the Flag, ensuring that they are evenly spaced.
Leveling (Optional):
If you desire a perfectly level flag, use a level to ensure the marks you made are straight and even.
Apply Painter’s Tape:
Cut strips of painter’s tape to the desired length and apply them to the wall at the marked positions. Ensure the video is level and aligned with your marks.
Hang the Flag:
Slide the grommets or the top edge of the Flag behind the strips of painter’s tape. The painter’s tape’s low-adhesive nature should securely hold the Flag in place.
Adjust and Secure:
Make necessary adjustments to ensure the Flag hangs straight and looks its best. If needed, use a level to check for accuracy. Once satisfied with the Flag’s placement, ensure it’s securely attached to the wall.
By following these steps, you can securely hang your Flag on the wall using painter’s tape,
Poster Strips and Double-sided Tape:
To hang a flag on a wall using poster strips and double-sided tape, follow these straightforward steps:
Materials You’ll Need:
- Flag of your choice
- Poster strips (removable adhesive)
- Double-sided tape
- Measuring tape
- Pencil
- Level (optional)
Step-by-Step Instructions:
Select a Suitable Location:
Choose a visible spot on the wall for your Flag. Ensure it’s well-lit and complements your room’s aesthetics.
Prepare the Wall:
Clean the wall surface to remove dust or dirt, ensuring good adhesion for the tape.
Mark the Flag Placement:
Measure the desired position on the wall, ensuring the marks are level and evenly spaced to accommodate the Flag’s grommets or top edge.
Leveling (Optional):
Use a level to ensure the marks are straight and aligned correctly.
Apply Double-Sided Tape:
Cut strips of double-sided tape to the appropriate length and apply them horizontally on the wall at the marked positions.
Attach Poster Strips:
Attach removable poster strips vertically on the double-sided tape. The poster strips will serve as the anchor points for your Flag.
Hang the Flag:
Slide the grommets or the top edge of the Flag through the poster strips and double-sided tape. This should securely hold the Flag in place.
Adjust and Level:
Make necessary adjustments to ensure the Flag hangs straight and level. Use a group if needed.
Using poster strips and double-sided tape provides a secure and removable method to hang a Flag on a wall without causing damage. It’s a simple and effective way to display your Flag while maintaining flexibility and respecting flag etiquette.
Use of Adhesive Putty to hang a flag on a wall:
To hang a flag on a wall using adhesive Putty, follow these quick steps:
Materials You’ll Need:
1. Flag of your choice
2. Adhesive putty (removable and non-damaging)
3. Measuring tape
4. Pencil
5. Level (optional)
Step-by-Step Instructions:
1. Select a Suitable Location:
Choose a visible spot on the wall for your Flag, considering aesthetics and lighting.
2. Prepare the Wall:
Ensure the wall is clean, free of dust or dirt, and dry for proper adhesion.
3. Mark the Flag Placement:
Measure and mark the desired position on the wall, ensuring the marks are level and evenly spaced to accommodate the Flag’s grommets or top edge.
4. Leveling (Optional):
Use a level to ensure the marks are straight and aligned correctly.
5. Apply Adhesive Putty:
Take small amounts of adhesive Putty and knead them to soften. Form them into small balls or strips.
6. Attach Putty to the Flag:
Attach the soft adhesive Putty to the top corners or grommets of the Flag. Make sure it adheres securely.

7. Hang the Flag:
Press the putty-covered areas of the Flag onto the wall at the marked positions. The adhesive Putty should hold the Flag in place.
8. Adjust and Level:
Make any necessary adjustments to ensure the Flag hangs straight and level. Use a group if needed.
Using adhesive Putty offers a non-damaging and easily removable method to hang your Flag on the wall. It’s a convenient and hassle-free way to display your Flag while keeping flexibility and respecting flag etiquette.
use of Thumbtacks and Push Pins to hang a flag on a wall:
Hanging a flag on a wall using thumbtacks and push pins is simple and quick. Here are the steps:
Materials You’ll Need:
1. Flag of your choice
2. Thumbtacks or push pins
3. Measuring tape
4. Pencil
5. Level (optional)
Step-by-Step Instructions:
1. Select a Suitable Location:
Choose a visible and well-lit spot on the wall for your Flag. Ensure it complements the room’s aesthetics.
2. Prepare the Wall:
Ensure the wall surface is clean and dry, free of dust or dirt.
3. Mark the Flag Placement:
Measure and mark the desired position on the wall. Ensure the marks are level and evenly spaced to accommodate the Flag’s grommets or top edge.
4. Leveling (Optional):
Use a level to ensure the marks are straight and aligned correctly.
5. Insert Thumbtacks or Push Pins:
Place thumbtacks or push pins at the marked positions on the wall, exposing a small portion to hang a Flag on a wall.

6. Attach the Flag:
Slide the grommets or the top edge of the Flag onto the exposed portions of the thumbtacks or push pins. This should securely hold the Flag in place.
7. Adjust and Level:
Make adjustments to ensure the Flag hangs straight and looks its best. Use a level if needed.
Using thumbtacks and push pins is a convenient and easily reversible way to hang a Flag on a wall. It allows you to display your Flag quickly while maintaining flexibility and respecting flag etiquette.
Pennant Display Case:
To hang a flag on a wall using a pennant display case, follow these straightforward steps:
Materials You’ll Need:
1. Flag you want to display
2. Pennant display case
Step-by-Step Instructions:
1. Open the Pennant Display Case:
Begin by opening the pennant display case. Most display cases have a hinged or removable front panel.
2. Prepare the Flag:
Ensure your Flag is clean and neatly folded if necessary. If your Flag has grommets or a sleeve, ensure it’s properly arranged.
3. Place the Flag Inside:
Gently lay the Flag inside the display case. Ensure it’s centered and positioned as you’d like it to appear within the case.
4. Secure the Flag:
Some pennant display cases have mounting hardware or pins to secure the Flag. Follow the manufacturer’s instructions to attach the Flag securely.
5. Close the Display Case:
Carefully close the front panel of the display case. If it’s hinged, ensure it locks or secures appropriately.
6. Hang or Display the Case:
Determine where you want to hang or place the display case. Ensure it’s where it can be easily seen and admired.
8. Regular Maintenance:
Display cases help protect flags from dust and damage, but it’s still essential to periodically clean the case’s exterior and ensure the Flag inside remains in good condition.
Using a pennant display case is an elegant and protective way to showcase and preserve your Flag. It keeps the Flag in good condition and adds a touch of sophistication to your display.
Related Articles:
How Long Does the Virtual Staging Process Take?
How to Choose Cohesive Bathroom Plumbing Fixtures?
Conclusion:
Hanging a flag on your wall is a meaningful way to display your pride, beliefs, or affiliations. It’s essential to do it properly, ensuring the Flag is secure and treated with the respect it deserves. Whether you’re displaying a national flag, a flag representing your favorite sports team, or one that holds a personal meaning, following these steps will help you achieve a tasteful and dignified presentation. Remember, how you hang your Flag speaks volumes about your pride and decorum, so do it with care and respect.
Hello there!
I’m Daniel, a dedicated blogger passionate about uncovering unique ideas and the latest trends in the industry. I have a deep interest in sharing these details with all of you.
Through this blog, I aim to provide you with valuable insights and perspectives. Instead of focusing solely on travel and outdoor activities, I delve into diverse topics that captivate your attention. From intriguing news updates to practical money-saving tips, I explore various subjects.
Additionally, I offer detailed reviews of the gear I’ve acquired on my journeys, and I guide you through the step-by-step process of planning an unforgettable trip.
Are you ready to embark on an extraordinary journey? By immersing yourself in this blog, reading it regularly, finding inspiration, and sharing my stories with your friends, you’ll enhance your next adventure, making it truly memorable, enjoyable, and unforgettable.
I appreciate your support!